
I am in the process of modifying a Linksys WRT54G router to act as a control computer for my Roomba Scheduler. To do that, I need to reflash the ROM in the router with a stripped down version of Linux. There are several versions out there to choose from, but I have settled on OpenWrt - mainly because that was the first one that I came across. I'm loyal that way : )
Anyway, one drawback to using the WRT54G instead of one of the many others that are suitable for this type hack is that it doesn't have USB ports. Luckily, there is a perfectly good location on the router board just begging for a header to be soldered on! By tapping in to that header through a RS-232 level converter, I will then have both a host and a client serial port. From there, it should be a simple matter of using a USB-to-serial adapter and a USB hub. Whew! Rereading that, that doesn't sound all that simple, does it? Trust me... It is.
Almost every web page that I could find detailing this procedure referenced back to Rod Whitby's web site using an adapter kit sold by a company called CompSys. Well, I'm cheap. I only gave $1.99 for the router so I wasn't about to give $20 plus shipping for something I figured I could build myself.
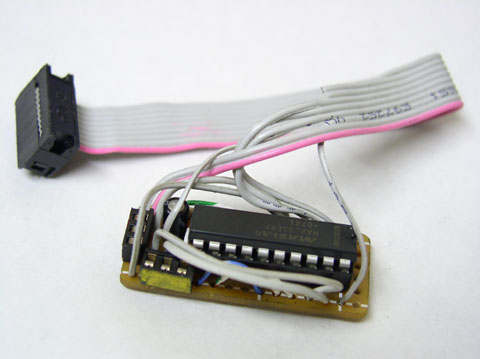
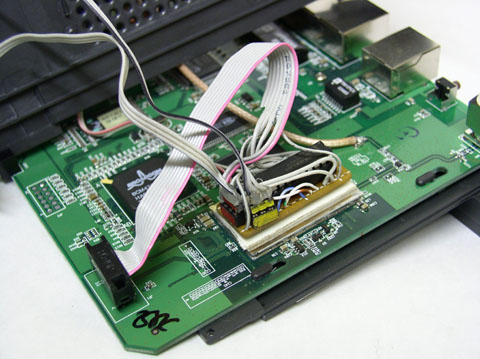
After going over Maxim's MAX233 datasheet, I found that no other support components were required. Twenty dollars indeed! I drew up a schematic for a super simple circuit that you can use in place of the AD233BK 233A CTS RTS adapter kit that the instruction call for. If you have Eagle CAD and would like the schematic in the Eagle .sch format you can download that here. As you can see below, the circuit can be built on a small perfboard and fits nicely (with a piece of double-sided adhesive) to a shield on the router board.
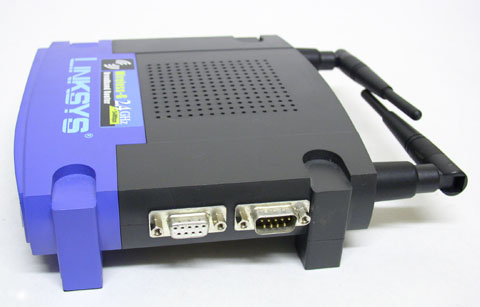
Also, I wasn't too happy with the recommended mounting locations for the two serial connectors. I found that both of them fit nicely on the right-hand side of the case. You can see from the photos just how well it turned out. Can you tell I'm beaming with pride?

Notice how small and compact the circuit can be built?

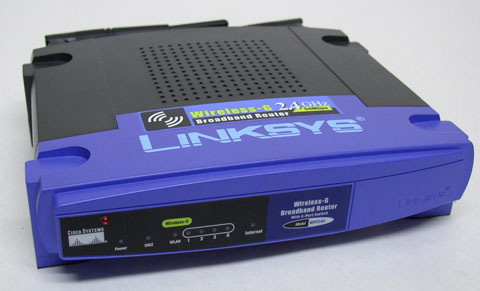
Here you can see the red power LED I added to the front of the case.

The converter mounted to the board with double-sided adhesive.

I think the connectors look much better on the side!
Update:

Well, I got side-tracked on the whole Roomba project, but I did find
a fun project to use my new Linux-WRT for. A friend gave me a ProLite
TruColorII LED display sign that he didn't have the remote for.
Luckily, the designers were considerate enough to release the RS-232
protocols used to communicate with the sign. Using this information,
I was able to write a set of small scripts that download the local
weather forecast and then display it on the sign. All of this is done
via a wireless connection to the internet and I can log in to the
router and modify the display from any computer in my shop. None of
the methods I found on the internet seemed to work with the OpenWRT
verison of Linux so, just in case anyone else is interested, you
can download a copy of the scripts (along with instructions)
here.
