
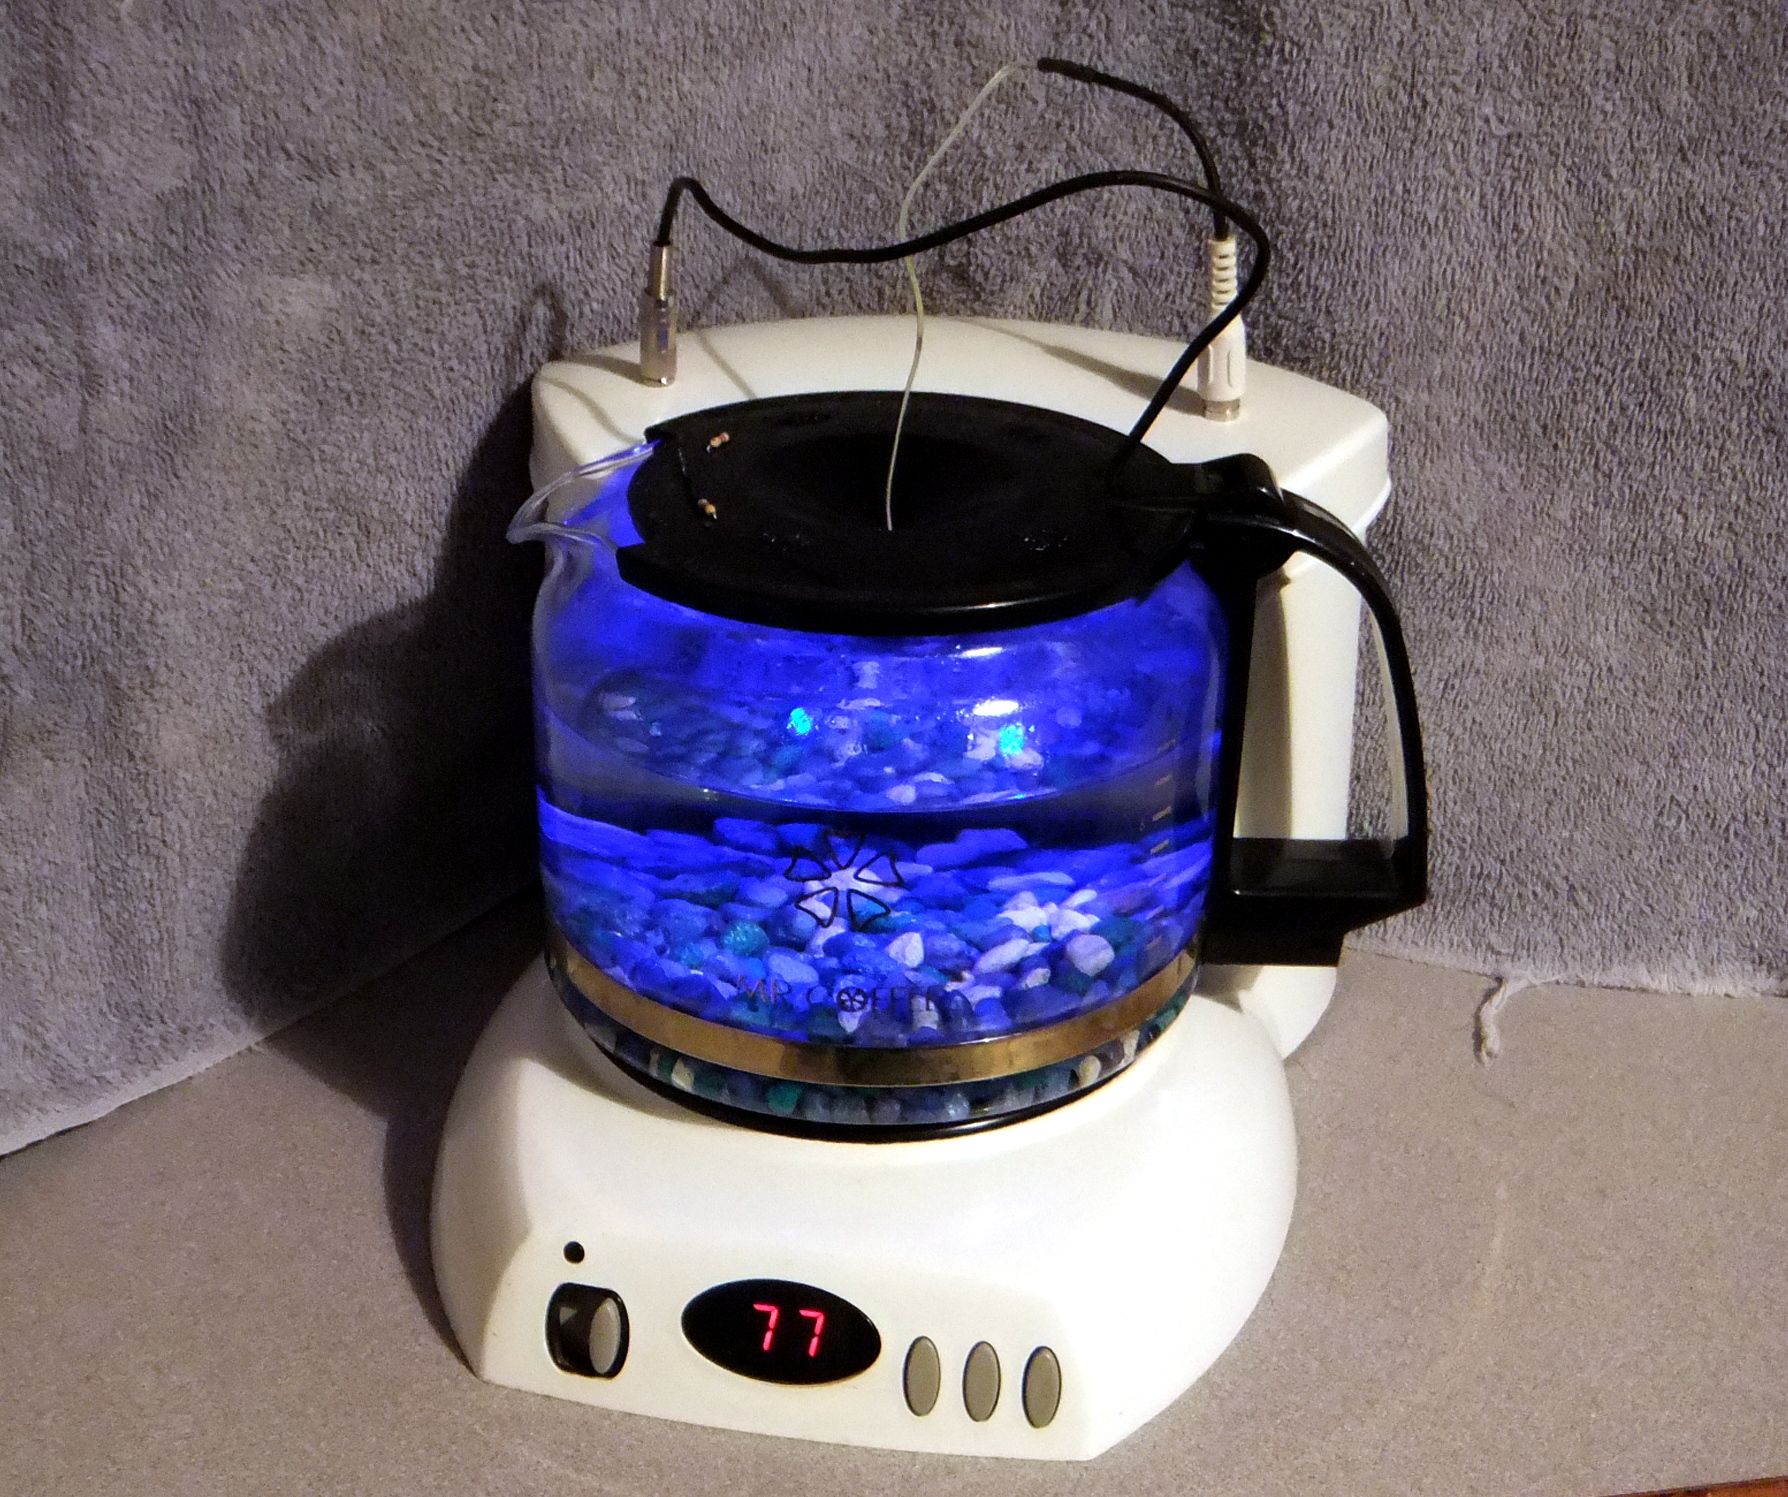
I bought my girlfriend a Betta fish for Valentine's Day last year (hey... that's what she wanted!) only to learn later that they are tropical fish requiring relatively warm water. That's no problem in the summer. We don't use air conditioning so I am sure that that fish felt right at home. Winter is another issue all together, though. We needed to find a way to keep him from freezing. That's when I had the idea to use a coffee pot as a heater. It already had a heating element built in and the carafe was the perfect size for a fish bowl!
With half a dozen other microprocessors getting more than their fair share of the limelight, I had been looking for a project that I could build using the much overlooked and under-appreciated Texas Instruments MSP430 microprocessor. At under $5 for two ICs and a development board, you will wonder why you've been throwing money away on all those other boards.
We found the coffee pot at a local thrift store. With a switch, LED numeric display, digital timing circuit and power supply, it was perfect. After we got it home, I found it even more perfect in that it was built in two pieces. By removing the top portion behind the carafe, I was able to make it into a kind of drop top convertible.
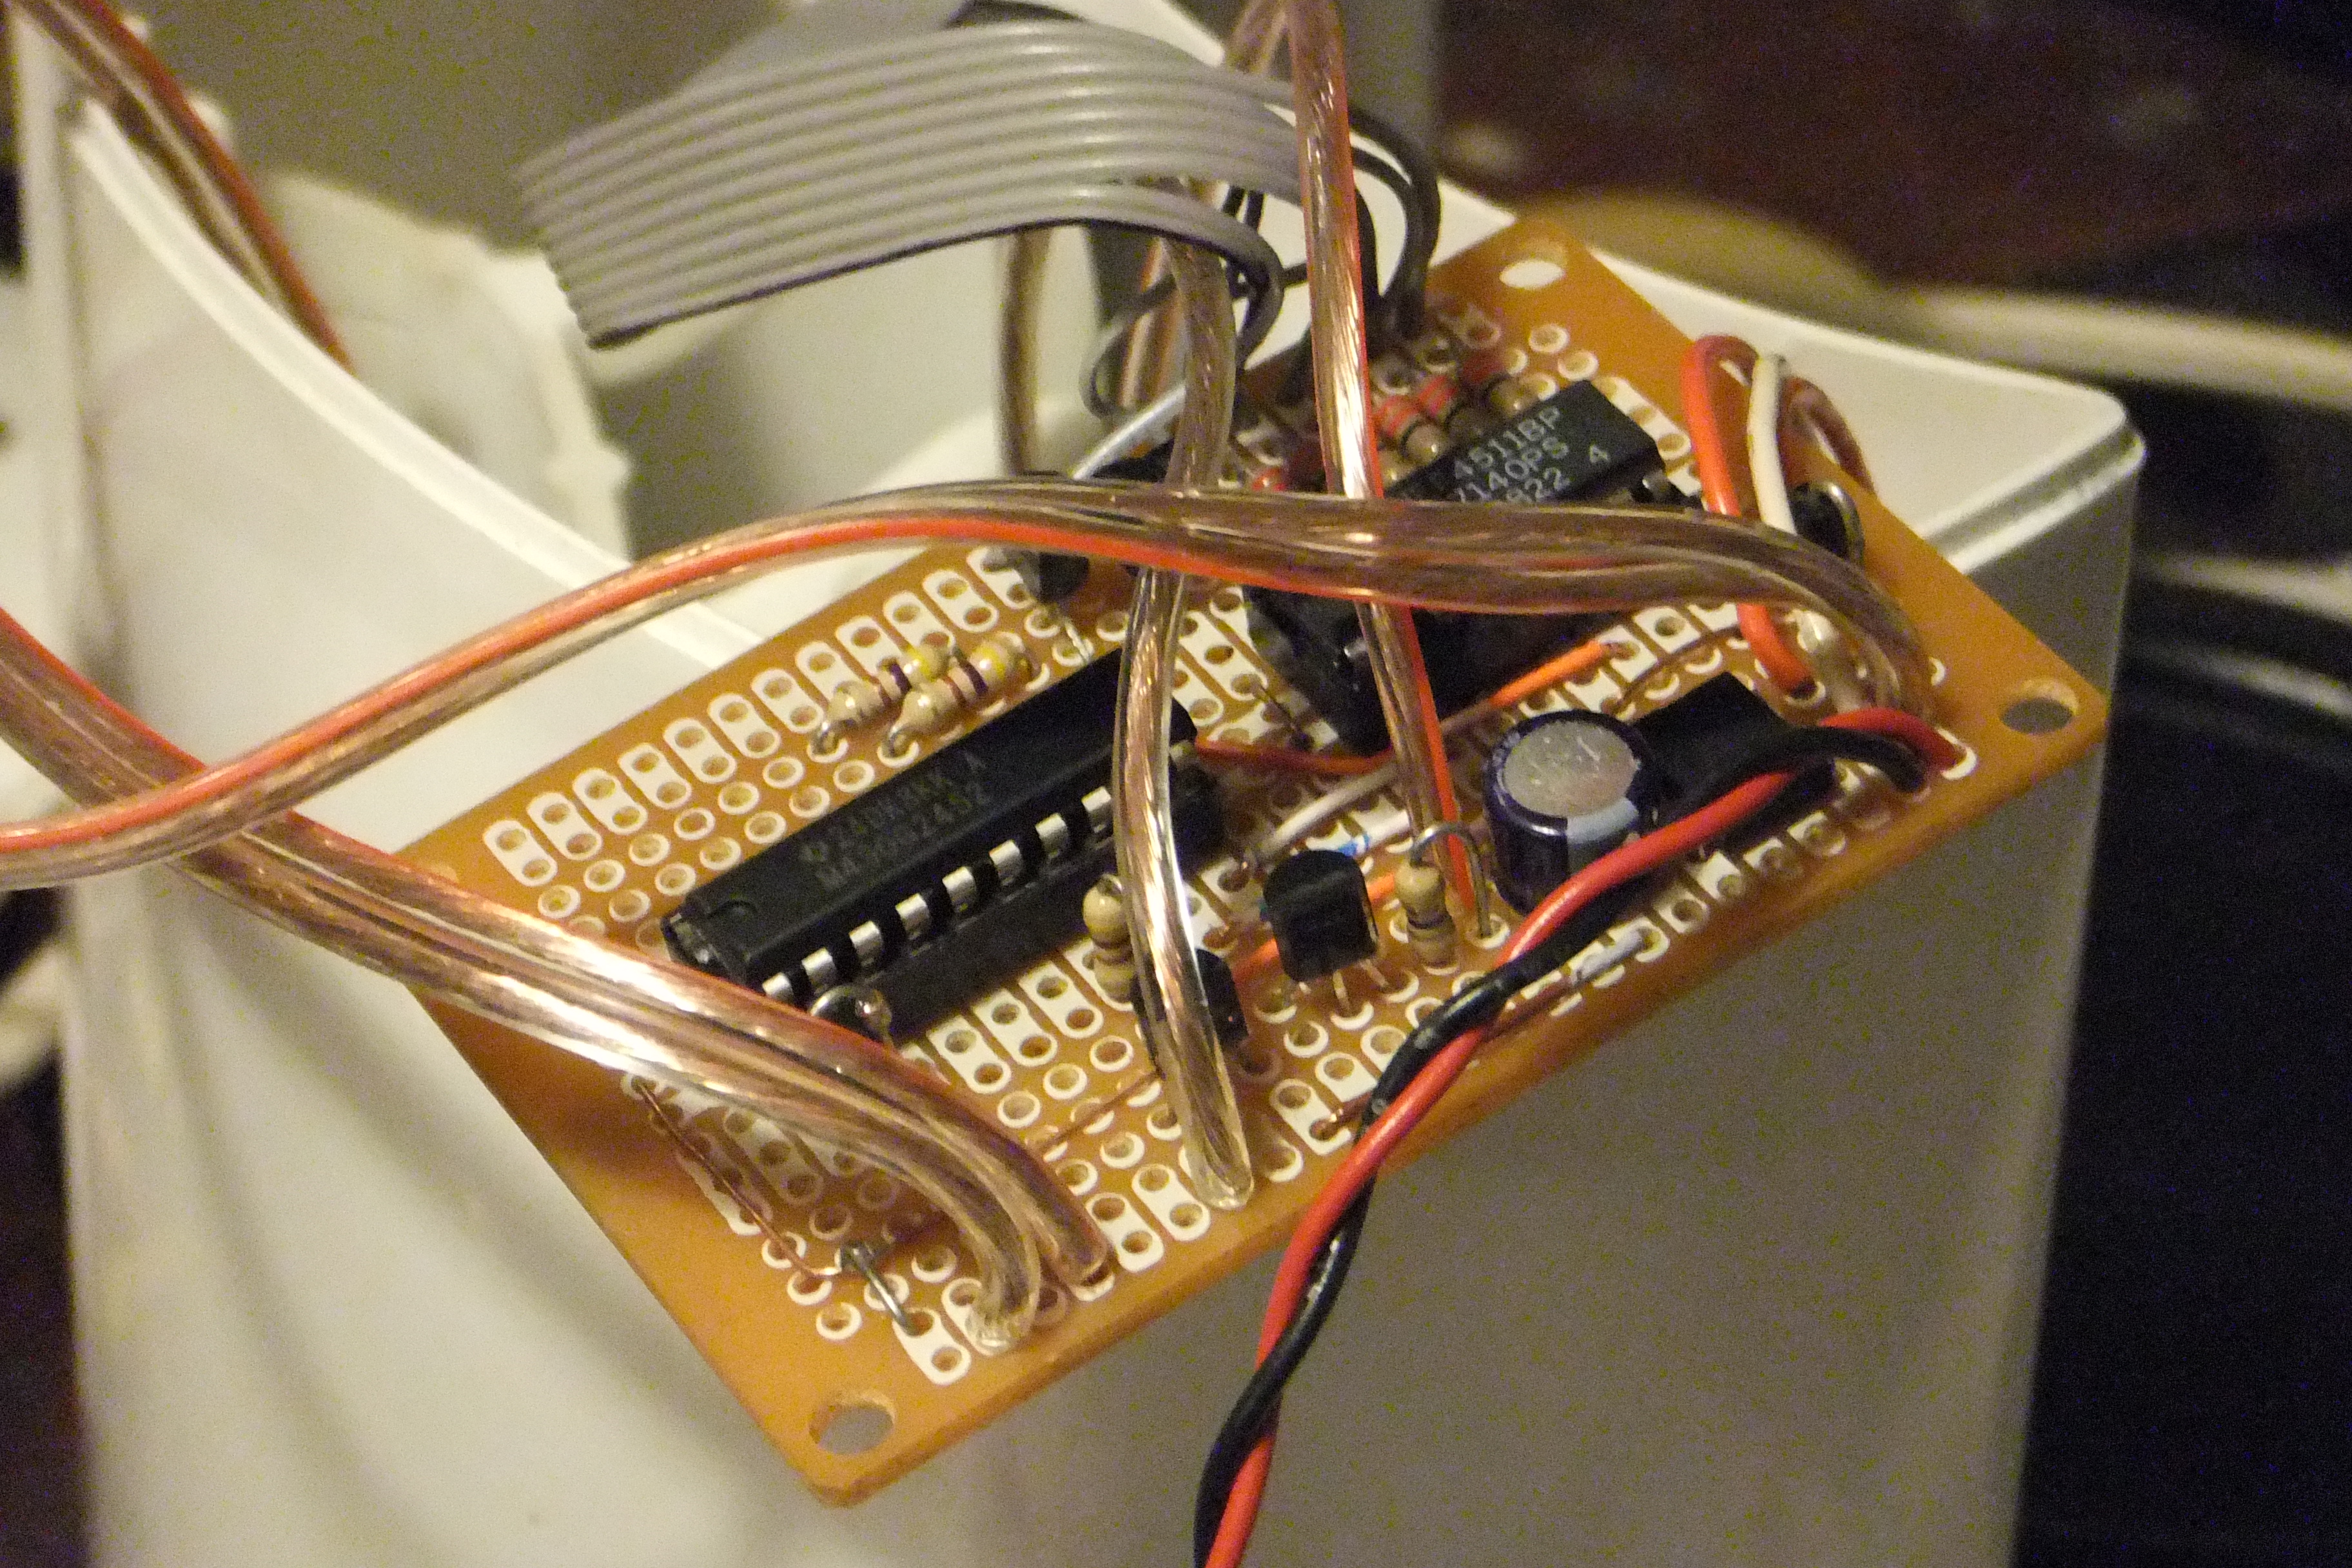
The first thing was to isolate the dual seven segment display, the timer's relay and the switch. I did this by cutting the traces on the board with an xacto knife so that I could still use the original circuit board for stability. Then my circuit could be tied to the appropriate connections with wire.
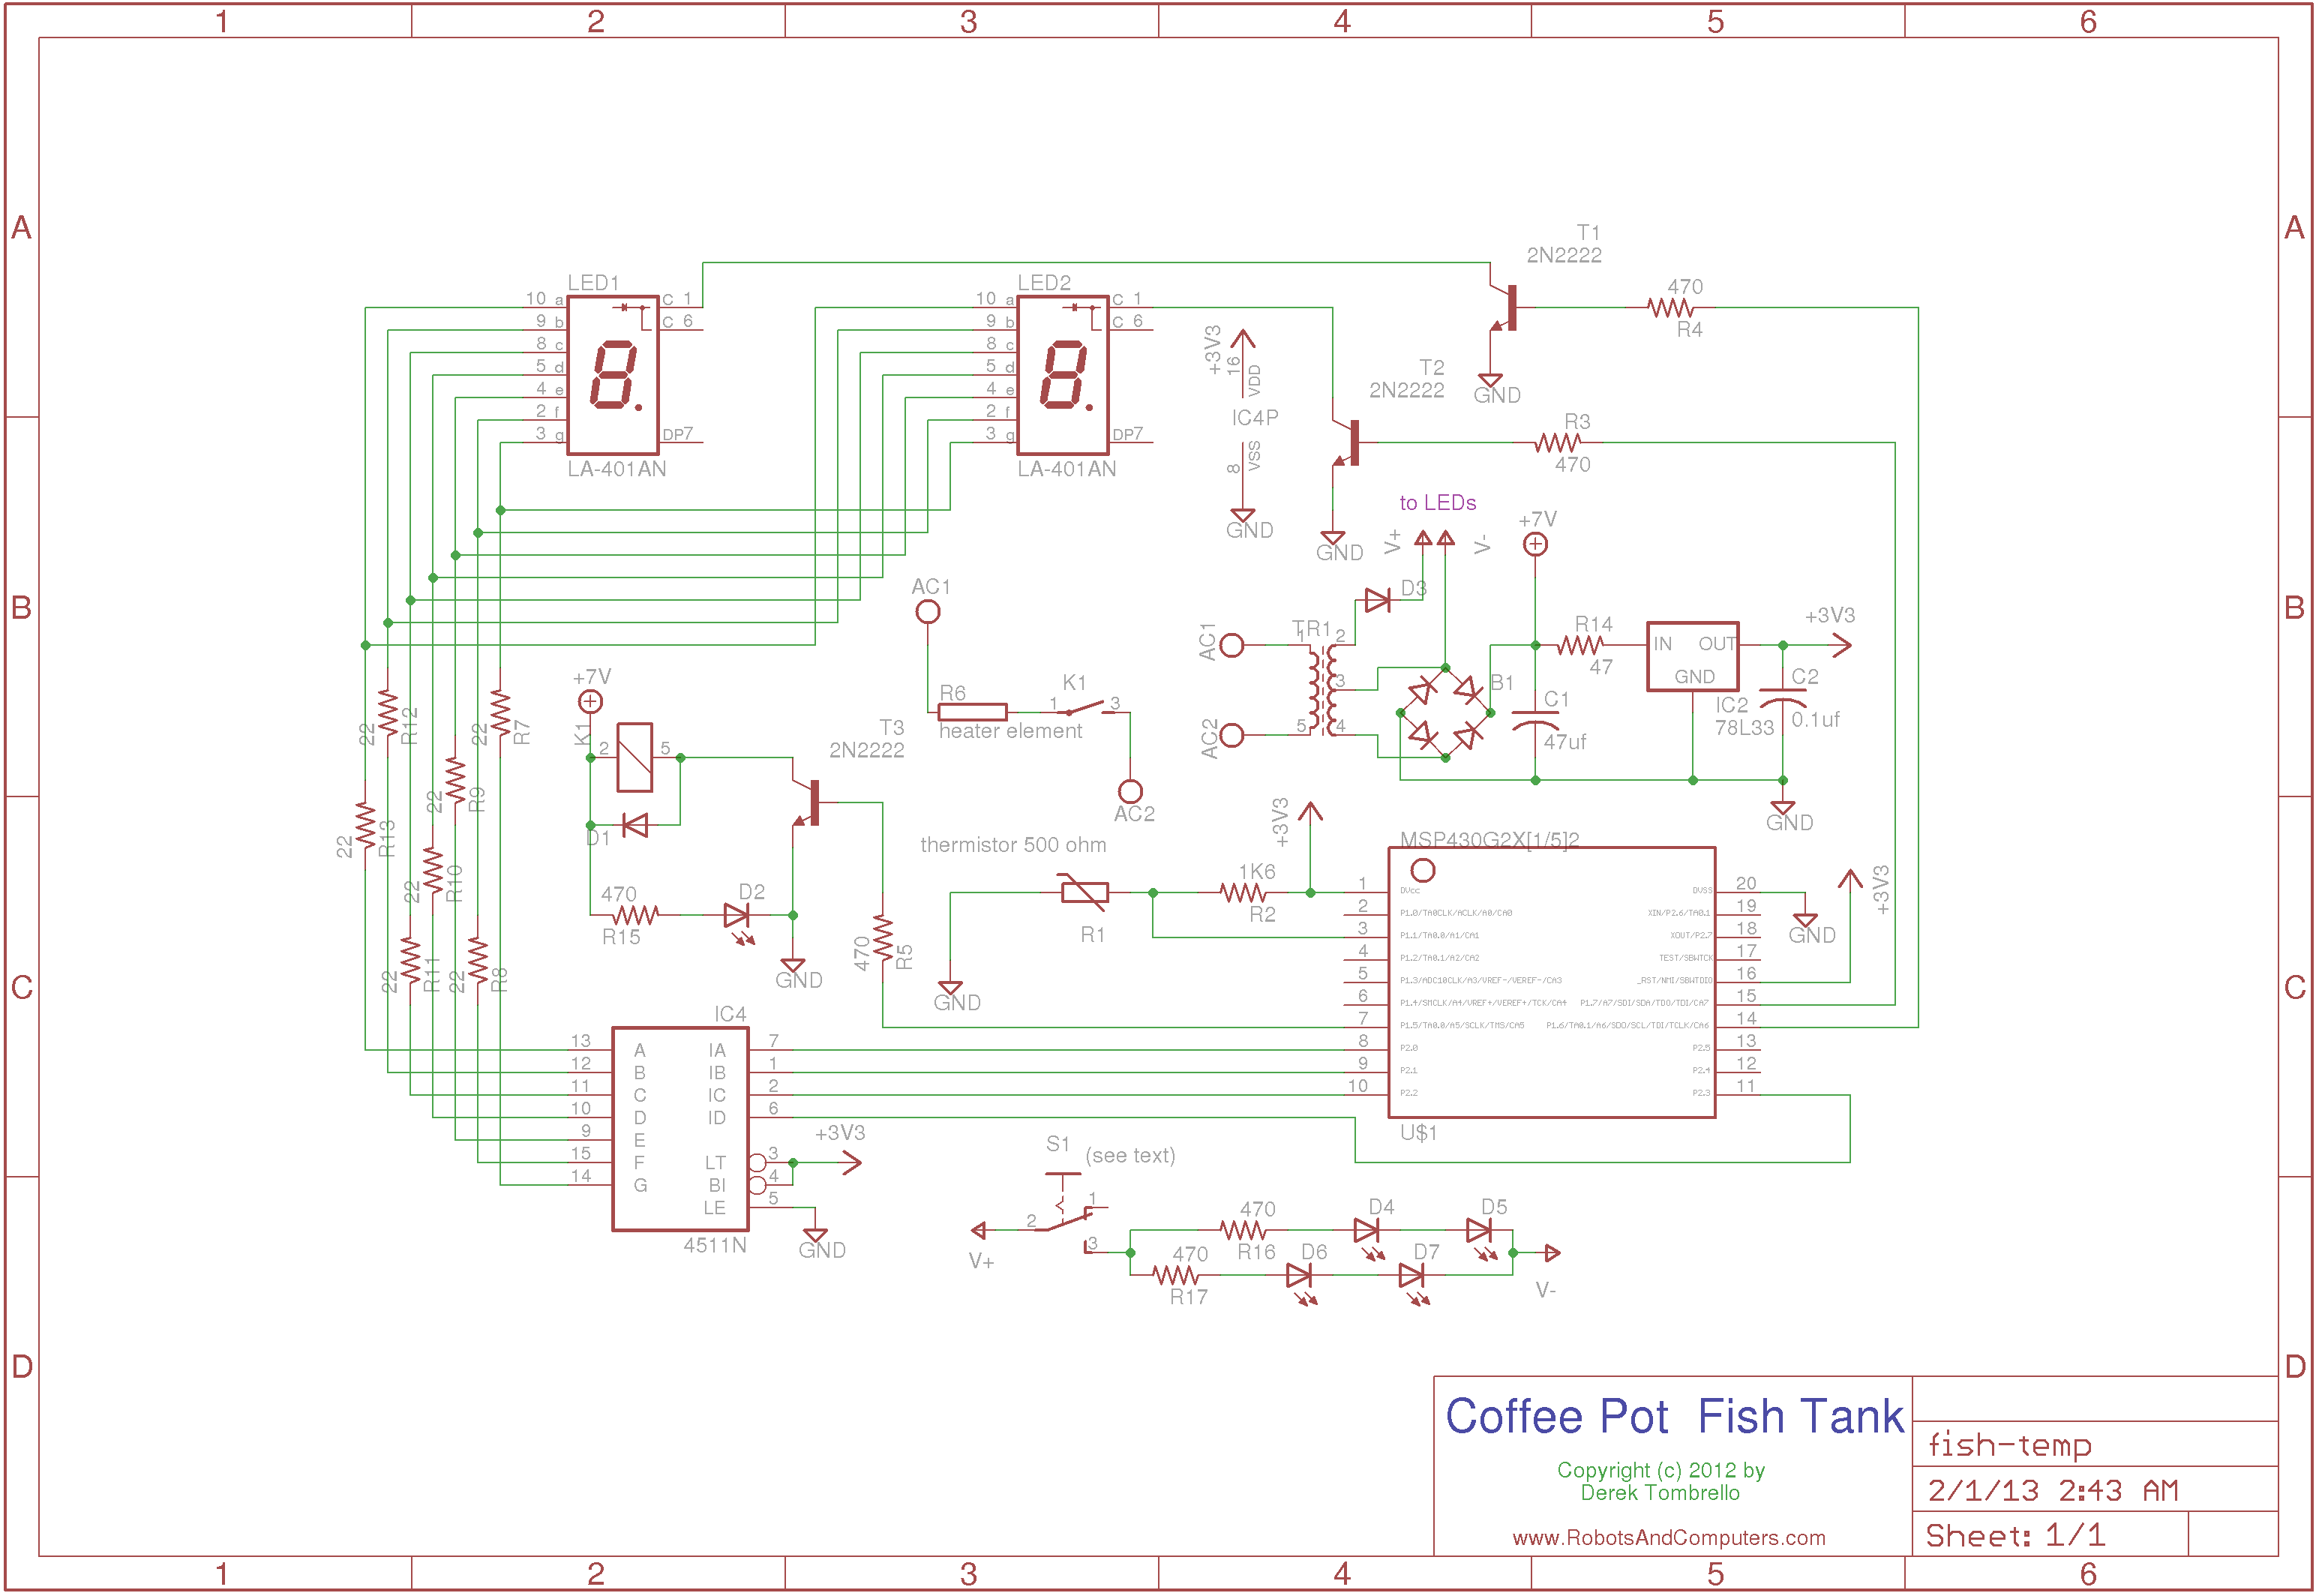
The circuit itself is pretty basic. The only thing to pay attention to are pin numbers on the LED displays and the relay. I designed this around the components already in the coffee pot so you may need to modify these pin numbers to suit your application.
The temperature is sensed using an NT03-50169 500 ohm temperature sensor R1 in a standard voltage divider configuration. This is fed to the MSP's built-in ADC and, using a look-up table (calculated using values found in the device datasheet plugged into python script createTemperatureLookup.py), is converted to a temperature in Fahrenheit. When the temperature drops below a preset limit (74° in this case), transistor T3 is switched on which in turn activates relay K1. This is the coffee pot's built-in relay and energizes the heating element under the warming plate. As a side-effect, an LED (D2) is turned on to indicate that the heater is on.
When the temperature rises to above the preset of 78°, transistor T3 is switched off, turning off the heating element. There is a ¼" layer of aquarium rocks placed on the bottom of the carafe, so these release heat for a while after the element is turned off, keeping the water warm and continuing to raise the temperature for a little while. I have found that the temperature usually rises to about 84° before beginning to drop back down.
I wanted to use the coffee pot's original built-in dual 7-segment LED display to continually display the temperature. The original display used some sort of house number for which I couldn't find any pin out data. I did manage to trace the pin out myself, but it wasn't conducive to multiplexing so I found another display module that perfectly fit within the original window. The pin count needed for this is kept low by combining a BCD-to-7-Segment decoder IC and multiplexing. In this way, only six pins are needed to drive the 14 individual segments of the display. Each digit is updated fast enough that there is no flicker at all.

I wanted a cool look, so I added five blue high-intensity LEDs to the underside of the carafe lid, which are turned on and off using the pot's original switch. These are powered by one side of the original transformer's center-tap winding. Make sure you seal any exposes leads or connections under the lid with liquid tape or silicone to prevent oxidation and rust. Also, make sure you let the sealant cure before placing the lid on the coffee pot for use.
The transformer in my coffee pot (as you can see in the schematic) luckily had a center-tap, so I was able to use one side to power the LEDs and the other side to power the computer. The 7v tap in the power supply circuit was the original power feed to the coffee pot's heater element relay. Your's may be different. The rest of the power supply is a typical 3.3v linear voltage regulator circuit.
Finally, in keeping with the "cool" look, I went with the standard "homemade bomb" wiring for the temperature sensor and the LED lights. The sensor just drops down into the water through the drip hole in the top. You may want to use different types of connectors for each wire so that you can't confuse the two and plug them in the wrong way - I used an RCA plug/jack for the sensor and a 3.5mm plug/jack for the LEDs.
The program (which you can download here) is written in C and compiled using TI's free Code Composer Studio. I have heavily commented the code, so I think it is pretty much self-explanatory. If you have problems or need help understanding any of it, you are more than welcome to email me and I will try to help the best I can.
If you build this, or if it gives you ideas for your own custom Fish Tank, email me and let me know. I would love to see photos of your creation. I'll even post them here for others to enjoy if you'd like to share them with everybody.
Disclaimer: This project involves AC line voltage in the vicinity of water as well as hot surfaces. Extreme caution is required when building this. If you are not comfortable working with AC voltage, please do not attempt this. If you decide to build this project, understand that by doing so, you are doing so at your own risk. I will not be held liable for any injury or death resulting from this project, as how you build this is totally out of my control. It is sad that I must include this disclaimer in the lawsuit-happy, nothing-is-ever-my-fault society in which we now live, but... there it is.